

Tuesday, August 17, 2010
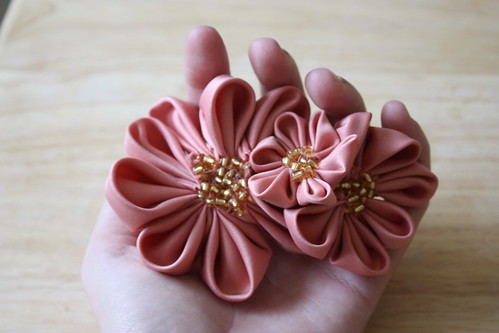
I'm warning you. There's about to be an absurd influx of fabric flower tutorials around here. So much so that I created a new flower tag. These pointed Japanese Kanzashi flowers look pretty awesome when other people make them. I'm not so sure about mine...
The Kanzashi flowers are a sort of fabric origami. Lots of folds and the instructions can look tricky, but really, they're quick and easy to make (if a little fussy...). In each step I've drawn in red & black what the next step will look like. Hopefully it doesn't make things more confusing.
Step 0: Gather Materials
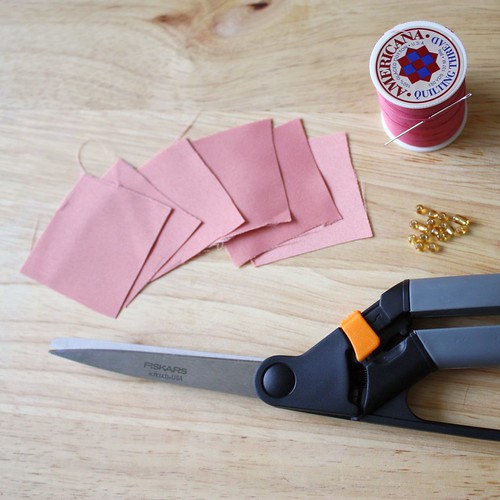
Materials: ~5 squares of fabric (the tutorial uses 2" squares, but I highly recommend 3" or 4". I used satin here), thread/needle, scissors, and beads or other embellishment for the center.
Step 1: Place Square, Right Side Down
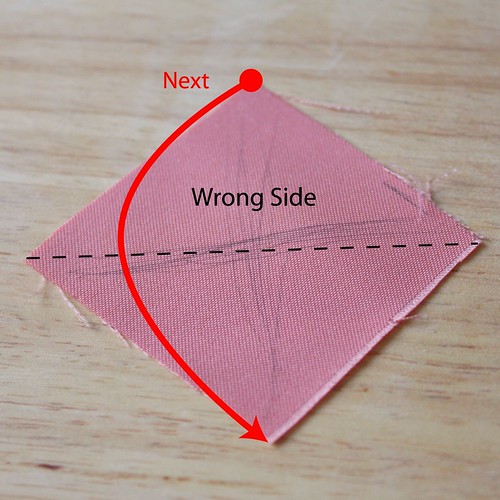
Place the fabric square with the right-side down.
Step 2: Fold Fabric in Half Diagonally

Fold fabric in half diagonally so that the right-side is facing out.
Step 3: Fold Fabric in Half Again

Fold the fabric square in half again.
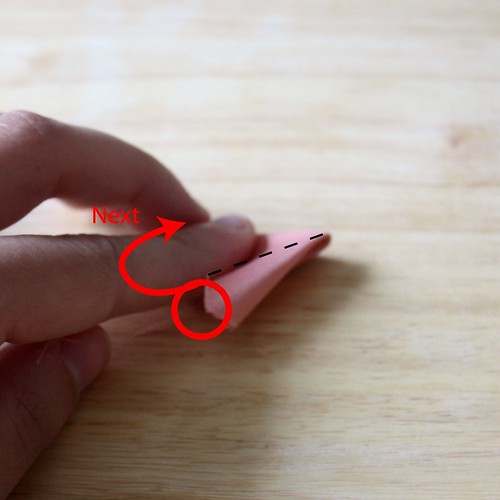
Step 4: Fold the Top Flap to One Side

Fold the top flap of fabric to one side. There should still be a back flap sticking out.
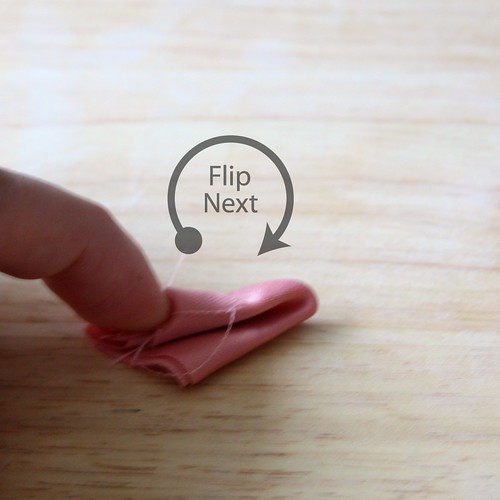
Step 5: Flip Fabric Over
Flip the fabric over so that the back flap is now on top. Make sure not to lose any of the folds.
Step 6: Fold [now] Top Flap Down
![Step 6: Fold [now] Top Flap Down](http://farm5.static.flickr.com/4074/4901822722_03c18542cb.jpg)
Fold the [now] top flap down as you did with the other side in Step 4.
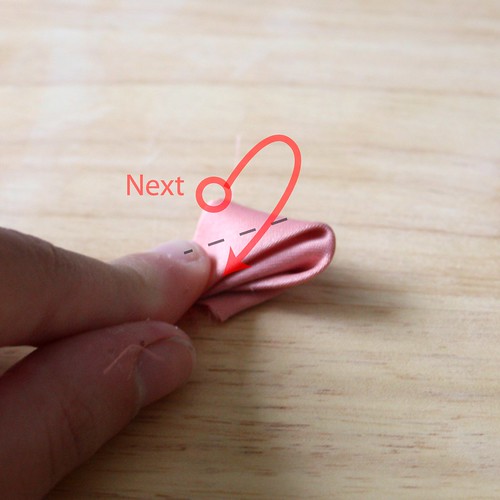
Step 7: Fold Top Point Toward Center
You now have two flaps again, take the top flap's point and fold it to the center.
Step 8: Flip Folded Fabric Over
Flip the folded fabric over.
Step 9: Fold [now] Top Flap Point Toward the Center
![Step 9: Fold [now] Top Flap Point Toward the Center](http://farm5.static.flickr.com/4143/4901825424_18ce5ab63a.jpg)
Repeat step 7 for the new top flap.
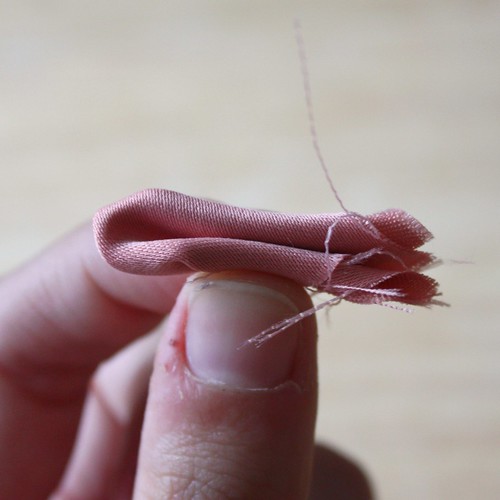
Step 10: Pinch Fabric Where Points Are

Your folded fabric should now look as above on the "petal" side (and as below on the "leaf" side).
Step 11: Cut Petal Just Below Points
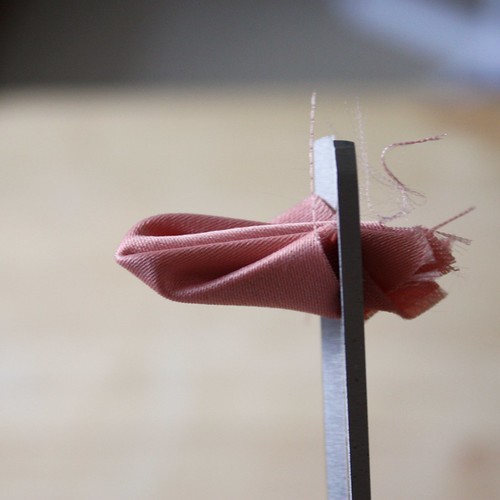
Cut off the unnecessary fabric just below the petal points. Be sure to keep the fabric held together with your fingers.

Step 12: String Petal Onto Thread
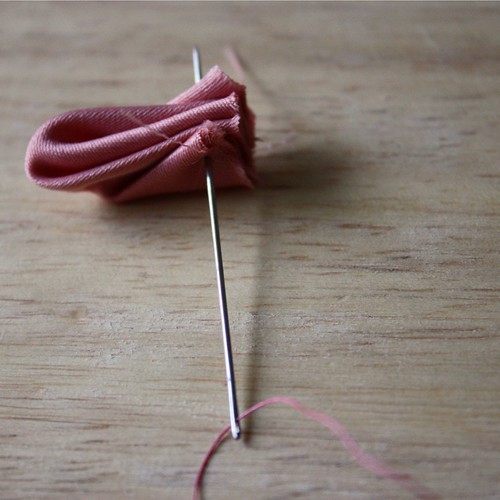
String this first petal onto thread, pushing the needle through the folded fabric near where you just cut. Make sure the needle passes through all layers of the folded fabric.
Step 13: Keep Making and Stringing Petals Until Satisfied
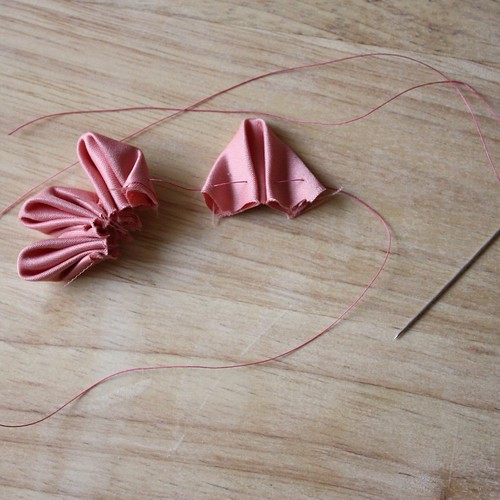
Keep making and stringing the petals onto the thread. Make sure they're facing the same direction. I used 6 petals in this tutorial, but you can use a couple more or less.
Step 14: Push Needle/Thread Back Through the First Petal
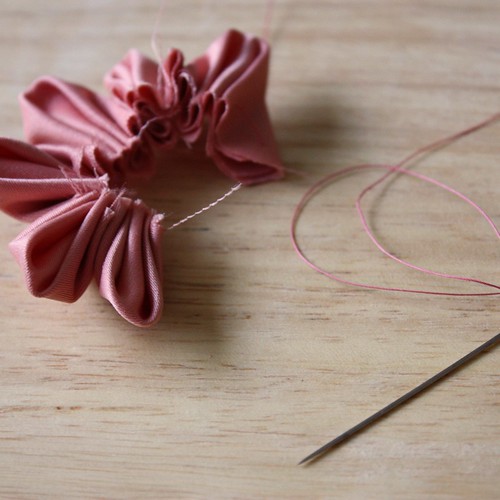
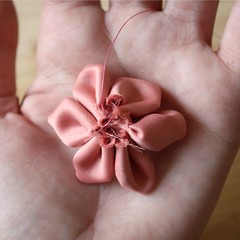
When you're done making petals, create a loop of petals by pushing the needle & thread back through the first petal.
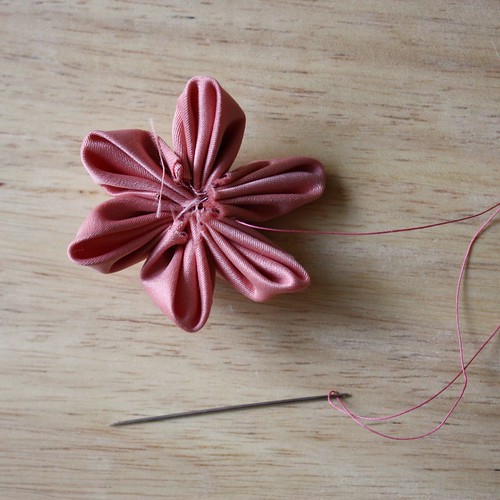
Step 15: Pull Thread to Form Flower
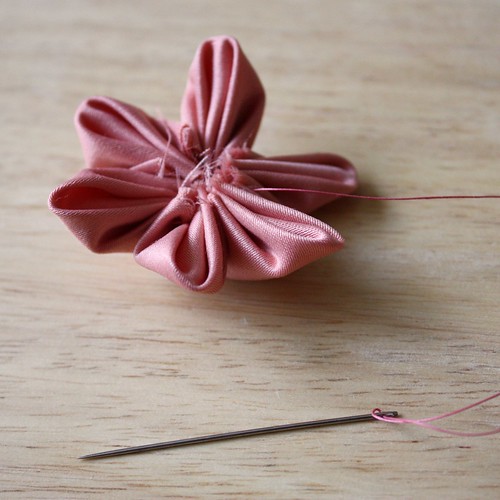
Pull on the thread gently to form the flower. You may have to wiggle the petals around a bit on the loop.
The more petals you have the easier it will be to make the flower look symmetric.
Step 16: Secure Thread
Secure the thread with a few knots on the back of the flower.
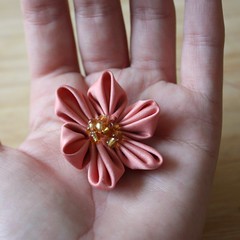
Step 17: Add Embellishment to Center
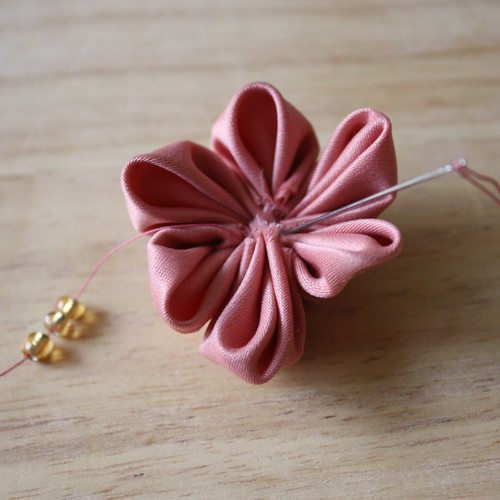
Add an embellishment (beads, another flower, a button, etc) to hide the rough ends in the middle of the flower.
Step 18: Done!
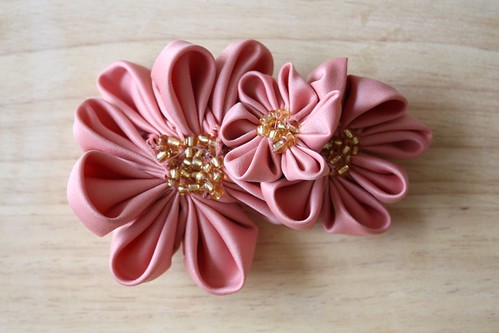
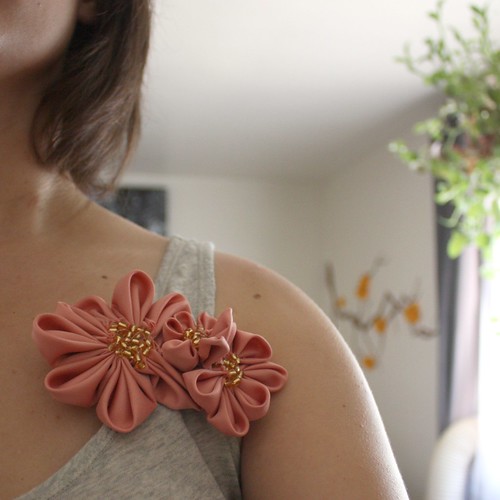
I sewed these 4", 2", and 3" kanzashi flowers to a hair clip, and now I can use it to decorate a blouse or as a hair accessory.


1 comments:
these are SOOOOOO pretty!! I love them!!
I'd love for you to link this up to my new link party, Your Whims Wednesday! http://mygirlishwhims.blogspot.com/2011/04/your-whims-wednesday-1.html
Post a Comment